Line breaks make documents look messy and hard to read. Whether you’re a lawyer managing case files, a student formatting research papers, or a content creator editing text you copied, unwanted line breaks are an annoying problem. They waste time and slow down your work. For quick text cleanup outside of Word, you can always use a dedicated online line break remover tool.
People know how important clean, correctly formatted documents are. That’s why the global market for document formatting services is huge, expected to hit $5 billion in 2025 and growing 8% annually! Yet, many still manually delete line breaks one by one, losing hours to tedious work that can be completed in minutes.
This easy-to-follow guide reveals five simple methods—from quick manual techniques to advanced automation—helping you choose the right approach for your specific situation. By the end, you’ll remove line breaks like a professional document manager, saving time on every project.
Understanding Line Breaks in Word: What Are They?
Before you start removing line breaks, it’s really important to know what they are. Many users mix up the different types of breaks, trying the wrong fixes that don’t solve their problems.
Paragraph Breaks vs. Line Breaks: What’s the Difference?
Microsoft Word has two distinct break types. They might look the same to the casual user, but they work very differently.
Paragraph breaks show the end of a paragraph. You create them by pressing the Enter key. These breaks trigger formatting like spacing before or after the paragraph, indentation, and alignment. When you show your formatting marks, paragraph marks look like the symbol ¶. They are permanent, structural parts that organize the flow of your document.
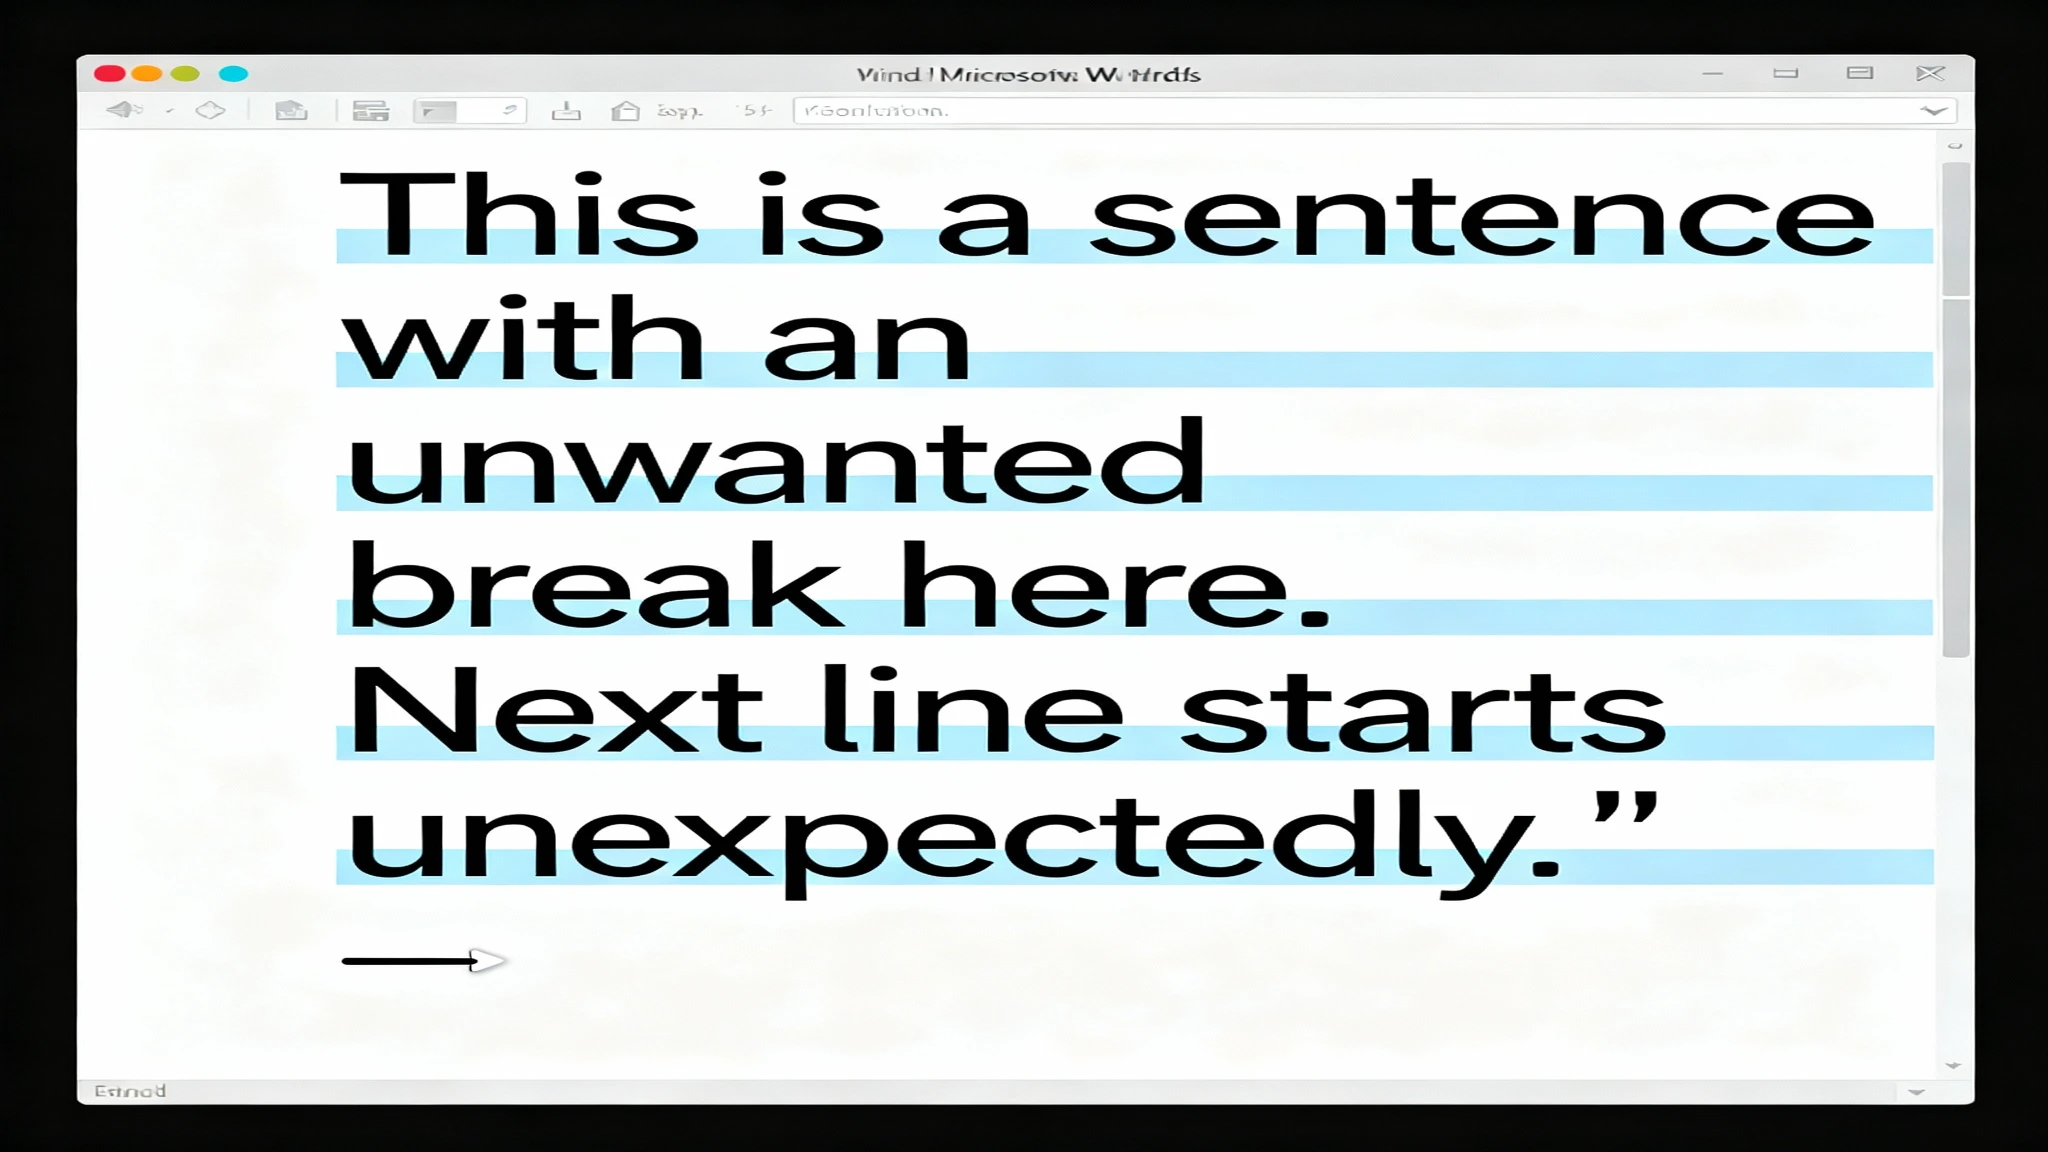
Line breaks, on the other hand, let your text continue onto a new line without actually ending the paragraph. You create these “soft returns” by pressing Shift + Enter. They keep all the paragraph-level formatting while creating a visual separation. They appear as bent arrows (↵) when formatting marks are visible. Unlike paragraph breaks, line breaks preserve the continuous nature of a paragraph for styling and layout purposes.
Key distinction: Removing paragraph breaks joins separate paragraphs into one flowing paragraph. Removing line breaks consolidates text while keeping the structure of the paragraph intact. Your goal determines which type you need to target.
Why Line Breaks Appear in Your Documents
Knowing where these breaks come from helps you prevent future line break issues.
OCR-converted documents are the main culprit. When you scan physical documents, Optical Character Recognition (OCR) software often mistakes page breaks and column shifts for line breaks, inserting unwanted breaks everywhere. Studies show that 60% of scanned PDFs contain errors that cause incorrect line break placement.
PDF text copying causes similar issues. When you pull text out of a PDF, it often keeps the original formatting, including arbitrary line breaks meant for a printed layout, not a digital document. A professional copying legal contracts from a PDF might find dozens of unnecessary line breaks per page.
Email and web text imports frequently include intentional line breaks used for display formatting that doesn’t look right in Word documents. Marketing copy, newsletters, and text scraped from the web all suffer from this problem.
Software export errors happen when specialized applications improperly export content into the Word format. Design software, survey tools, and specific publishing platforms sometimes create broken line break codes.
Poorly formatted source documents passed between colleagues build up line breaks through repeated editing and reformatting cycles.
Method 1: Manual Line Break Removal
Step-by-Step Process: The Foundation Approach
Manual removal works best for documents that only have a few unwanted line breaks. This method gives you precise control and doesn’t require any special knowledge.
Step 1: Enable Formatting Marks Display
First, reveal all the hidden formatting characters. Go to the Home tab and click the ¶ symbol (Show/Hide Formatting Marks) in the toolbar, or press Ctrl + *. Your document will now display all breaks as symbols—paragraph marks (¶) and line breaks (↵) become visible.
Step 2: Locate the Line Break
Scan your document for the bent arrow symbols (↵), which represent line breaks. These look clearly different from paragraph marks (¶) once the formatting marks are showing. Most line breaks gather in problem areas like OCR-converted pages or copied content blocks.
Step 3: Position Your Cursor
Click directly before or after the line break symbol. The position doesn’t matter much; Word understands what you intend to do either way. Your cursor should be flashing next to the unwanted break.
Step 4: Delete the Break
Press the Delete key (if your cursor is before the break) or Backspace (if your cursor is after the break). A single keystroke removes the line break, and the nearby text flows together on the same line within the paragraph.
Step 5: Review and Repeat
Check that the text joined properly without creating weird spacing. Then, find the next line break and repeat the process.
When to Use This Method
- Documents containing fewer than 10 line breaks
- Selective removal where certain breaks should remain
- Final cleanup after using other automated methods
- Small sections needing careful preservation of formatting
- Users uncomfortable with Find and Replace functions
Efficiency Reality
Removing 50 line breaks manually takes about 5–10 minutes of clicking and deleting. For documents with hundreds of breaks, this method becomes totally impractical, making automated approaches much better.
Method 2: Find and Replace (Most Popular)
The Powerhouse Solution: How Professionals Do It
Find and Replace is the most efficient method for most users. This Word feature searches for and removes line breaks across your entire document in seconds, handling hundreds of instances all at once.
Removing Paragraph Breaks Using Find and Replace
Step 1: Open Find and Replace Dialog
Press Ctrl + H on your keyboard. The Find and Replace window opens. You can also go to Home → Replace (or Editing → Find & Replace in some Word versions).
Step 2: Enter the Paragraph Break Code
In the “Find what:” field, type ^p (that’s a caret symbol followed by the letter p). This special code represents paragraph breaks in Word’s search language.
Find what: ^pStep 3: Choose Your Replacement
Leave the “Replace with:” field empty to eliminate breaks entirely and join paragraphs. Or, type a single space to replace breaks with spaces, keeping some separation while joining the lines.
Replace with: [leave blank or type space]Step 4: Execute the Replacement
Click the Replace All button to remove all instances at once. Word will show a confirmation message telling you how many replacements were made. For a 10-page document with lots of line breaks, this usually finishes in less than 3 seconds.
Step 5: Review the Results
Scroll through your document, checking that text joined correctly. Sometimes, replacing breaks with spaces creates double-spacing problems—you can easily fix this with another Find and Replace operation targeting multiple spaces (see Troubleshooting).
Removing Line Breaks (Soft Returns)
Line breaks require a different code than paragraph breaks.
Step 1: Access Find and Replace (Ctrl + H)
Step 2: Enter Line Break Code
In the “Find what:” field, type ^l (that’s a caret symbol followed by a lowercase L, not the numeral 1):
Find what: ^lStep 3: Leave Replacement Empty or Add Space
Leave “Replace with:” blank to remove completely, or add a space:
Replace with: [blank or space]Step 4: Replace All
Click Replace All to remove all line breaks. Most documents process instantly.
Advanced Find and Replace Tips for Power Users
- Combining Multiple Codes: Search for complex patterns by combining codes. For example, remove double paragraph breaks by searching for
^p^p(two paragraph marks together) and replacing with^p(a single paragraph mark). This gets rid of excessive spacing between paragraphs. - Using Regular Expressions: Enable “Use Regular Expressions” in the Find and Replace options for advanced pattern matching. This lets you search for patterns like “any 3-digit number followed by a line break,” allowing for sophisticated, targeted replacements.
- Preserving Formatting: Word offers formatting options in Find and Replace. Click “More >>” to see additional options, including “Format” buttons that let you search for specific formatting (bold, italic, specific fonts) combined with break removal.
- Undo if Needed: Replaced too much? Press Ctrl + Z immediately to undo the mass replacement and restore your original formatting. Word saves a full history of your replacements.
Why Professionals Prefer This Method
- Fast: Handles 1,000+ replacements in seconds
- Reliable: Gives consistent results across different document types
- Free: Built into all Word versions
- Reversible: You can always undo if you make a mistake
- Flexible: Handles both paragraph breaks and line breaks
Performance Reality
Most users find that Find and Replace removes all line breaks in documents of any size within 1–3 minutes total, including the time it takes to review the document. A legal contract with 500+ line breaks can be cleaned in under 2 minutes.
Method 3: Adjusting Paragraph Settings
The Format-Based Alternative: Understanding When It Applies
Sometimes, line breaks look bad because of paragraph formatting, not because of actual break codes. Reducing the spacing settings and adjusting line spacing can make the breaks disappear while maintaining your document’s structure.
Step 1: Select Affected Text
Highlight the paragraph or section that has the problematic line breaks. Use Ctrl + A to select your entire document.
Step 2: Open Paragraph Settings
Go to the Layout or Page Layout tab (depending on your Word version). In the Paragraph section, click the small arrow icon in the bottom-right corner to open the Paragraph dialog box. Alternatively, right-click the selected text and choose Paragraph from the menu.
Step 3: Adjust Before and After Spacing
In the Paragraph dialog, find the “Spacing” section. Set both the “Before:” and “After:” values to 0 pt to eliminate extra space above and below paragraphs.
Before: 0 pt
After: 0 pt
Step 4: Modify Line Spacing
In the same dialog, change “Line spacing:” from potentially higher values to Single. This tightens the vertical spacing within paragraphs, potentially hiding the appearance of extra line breaks.
Line spacing: SingleStep 5: Apply and Observe
Click OK to apply the changes. Review whether the visible line breaks have diminished. If you are satisfied, your formatting adjustment resolved the issue.
When This Method Works Best
- Line breaks aren’t actual break codes but result from excessive spacing settings
- Document formatting intentionally uses large spacing
- You want to preserve paragraph structure while reducing the visual breaks
- You are working with templates requiring specific spacing that doesn’t fit your content
Limitations
This method doesn’t remove the actual line break characters—it just hides their appearance using formatting. If you copy and paste the text somewhere else, the line breaks will reappear. Use this when the appearance matters more than the underlying structure.
Method 4: Using Kutools for Word
The One-Click Solution: Premium Efficiency
For professionals who deal with huge batches of documents, Kutools for Word offers premium features, including sophisticated line break removal, which can save hours every month.
Kutools provides 300+ Word tools that aren’t available in standard Microsoft Word, including dedicated line break removal functionality designed specifically for documents with extensive formatting problems.
Installation and Setup
Step 1: Download Kutools
Visit the official Kutools website and download the Word add-in that works with your Word version (2010–2021 and Microsoft 365).
Step 2: Install the Extension
Run the installer and follow the prompts to install Kutools into your Word program. Restart Word afterward.
Step 3: Locate the Kutools Ribbon
After installation, a new Kutools tab appears in Word’s ribbon menu. Click it to access all Kutools features.
One-Click Line Break Removal
Step 1: Open Your Document
Load the document containing line breaks you want to remove.
Step 2: Select Text (Optional)
You can optionally select specific text. If you leave text unselected, the tool will process your entire document.
Step 3: Access Kutools Line Break Tool
In the Kutools tab, navigate to the Edit or Content section (the exact location changes based on the Kutools version). Look for the “Remove Line Breaks” or “Remove Extra Spaces” option.
Step 4: Execute Removal
Click the line break removal button. Kutools instantly processes your selection or entire document, removing all line breaks in a single operation.
Step 5: Save Your Work
Save the cleaned document. Kutools keeps your original file safe; you can always revert by not saving changes.
Key Benefits
- Batch processing: Process multiple documents automatically
- Selective removal: Remove only specific types of breaks
- Preservation: Maintain formatting while removing breaks
- Reporting: Track changes and show detailed reports
- Undo capability: Reverse operations if needed
Limitations and Considerations
Kutools requires buying a license for continued use after the trial period. Pricing is generally $30–$60 annually for individual licenses, with team discounts available. The investment quickly pays off for professionals who process many documents every month.
Method 5: VBA Macro Automation
Advanced Automation: Programming Line Break Removal
For power users who are comfortable with Visual Basic for Applications (VBA), creating custom macros automates line break removal, which is perfect for tasks you do over and over.
Macros record and replay actions in Word, allowing one-click processing of complex formatting operations. While setting this up requires some technical knowledge, the time saved on repeated tasks makes the initial effort worthwhile.
Creating Your Custom Macro
Step 1: Open the VBA Editor
Press Alt + F11 to launch the Visual Basic for Applications editor. You can also access it through File → Options → Trust Center → Trust Center Settings → Macro Settings (make sure you enable macros first), then Tools → Macros → Edit.
Step 2: Create a New Module
In the VBA editor, right-click on “VBAProject” in the left panel and select Insert → Module. A new module window opens so you can enter code.
Step 3: Enter the Macro Code
Copy and paste the following code into the module:
Sub RemoveLineBreaks()
    Selection.Find.ClearFormatting
    Selection.Find.Replacement.ClearFormatting
    With Selection.Find
        .Text = "^l"
        .Replacement.Text = ""
        .Forward = True
        .Wrap = wdFindContinue
        .Format = False
        .MatchCase = False
        .MatchWholeWord = False
        .MatchWildcards = False
        .MatchSoundsLike = False
        .MatchAllWordForms = False
    End With
    Selection.Find.Execute Replace:=wdReplaceAll
End Sub
This macro removes all line breaks (^l codes) from your document, replacing them with nothing.
Step 4: Save the Module
Press Ctrl + S or click File → Save to save your macro. Word stores it in the document or template, depending on the location.
Step 5: Run Your Macro
Return to your Word document. Press Alt + F11 or navigate to Tools → Macros → Macros and select “RemoveLineBreaks” from the list. Click Run. Your document’s line breaks vanish instantly.
Alternative Macro for Paragraph Breaks
To remove paragraph breaks instead of line breaks, change the search code from “^l” to “^p“:
Sub RemoveParagraphBreaks()
    With Selection.Find
        .Text = "^p"
        .Replacement.Text = " "
        .Forward = True
        .Wrap = wdFindContinue
        .Format = False
        .MatchCase = False
        .MatchWholeWord = False
        .MatchWildcards = False
        .MatchSoundsLike = False
        .MatchAllWordForms = False
    End With
    Selection.Find.Execute Replace:=wdReplaceAll
End Sub
Best Practices for Macro Safety
Macros can sometimes pose security risks if they are not created carefully. Use these safety measures:
- Only enable macros from sources you trust
- Store personal macros in separate files away from documents you share
- Review the macro code before running it if you received it from someone else
- Use Word’s security settings to allow trusted locations only
- Back up documents before running macros on important files
When Macros Save Time
Macros become valuable when:
- Processing the same document type repeatedly
- Batch cleaning dozens of documents monthly
- Creating reusable templates with automated formatting
- Combining multiple operations into single automated workflows
Common Scenarios & Solutions
Real-World Situation 1: Removing Line Breaks from OCR’d Documents
The Problem: You scanned 200 pages of legal documents. The OCR conversion added line breaks throughout, breaking sentences mid-word.
The Solution: Use Find and Replace (Method 2). OCR documents usually have consistent line break patterns, making them perfect for automated replacement.
- Press Ctrl + H
- Enter
^lin “Find what:” field - Leave “Replace with:” empty
- Click Replace All
- Repeat with
^pif paragraph breaks also need consolidating
Result: 200 pages process in under 5 minutes. Review the first 5 pages carefully, then save.
Real-World Situation 2: Fixing Line Breaks in Copied PDF Text
The Problem: You copied text from a PDF contract into Word. Every 3–4 words contains a line break, making the text unreadable as one block.
The Solution: A combination approach using Find and Replace plus manual review.
- Use Find and Replace to remove line breaks (
^l→ nothing) - Manually review problematic sections where breaks might have been intentional formatting
- Re-apply paragraph breaks where paragraph separation should remain
Result: Contract reforms cleanly while preserving intentional structure.
Real-World Situation 3: Handling Line Breaks from Email Pastes
The Problem: Copied email content includes line breaks at every character limit, making paragraphs fragmented.
The Solution: Replace line breaks with spaces, then clean up excessive spacing.
- Press Ctrl + H
- Find:
^l| Replace with: [space] - Click Replace All
- Find: [two spaces] | Replace with: [one space]
- Repeat the last step until no double spaces remain
Result: Email content flows naturally while preserving paragraph breaks.
Real-World Situation 4: Web-Copied Text Line Break Issues
The Problem: Copying text from websites into Word keeps the web layout line breaks, which are unsuitable for document format.
The Solution: Clean imports using Paste Special options combined with Find and Replace.
- When pasting, use Ctrl + Shift + V (Paste Special)
- Select Unformatted Text to strip formatting and many line breaks
- Use Find and Replace to remove remaining breaks
- Reformat as needed using Word styles
Result: Web content integrates seamlessly into your document.
Troubleshooting Common Issues
Problem: Extra Spaces After Line Break Removal
Issue: After removing line breaks, extra spaces appear where the breaks used to be, creating uneven spacing.
Solution: Use Find and Replace to normalize spacing.
- Press Ctrl + H
- Find: [two spaces] | Replace with: [one space]
- Click Replace All multiple times until no more replacements occur
- Alternatively, Find
^p+ space (paragraph break followed by space) and Replace with^pto clean spacing after paragraph breaks.
Problem: Incomplete Line Break Removal
Issue: Find and Replace reports replacements made, but many line breaks are still visible.
Solution: You probably targeted the wrong break type. Try the alternate code:
- If you searched for
^l(line breaks), search for^p(paragraph breaks) - If you searched for
^p, search for^l
Some documents contain both types mixed together, requiring multiple passes.
Alternative: Use Kutools or macros for comprehensive removal of both break types simultaneously.
Problem: Formatting Lost After Removal
Issue: After removing line breaks, document formatting changed—fonts, colors, or styling disappeared.
Solution: This happens when Find and Replace replaces breaks with incompatible codes. Follow these steps:
- Press Ctrl + Z multiple times to undo replacements
- Try replacing with a space instead of nothing:
- Find:
^p| Replace with: [space] - Manually clean up resulting formatting
- Use Ctrl + A then Clear Formatting to reset to default if needed
Problem: VBA Macro Won’t Run
Issue: You created the macro, but Word won’t execute it.
Solution: Check these common issues:
- Macros disabled: Enable them in File → Options → Trust Center → Trust Center Settings → Macro Settings
- Wrong macro name: Ensure the macro name matches exactly when running
- Syntax errors: Review code for typos; even one character mistake prevents execution
- Missing references: Some macro code requires specific Word libraries enabled
Press Alt + F11, select your macro, and click Debug to identify specific error locations.
Best Practices & Prevention
Master Paste Special Options: Prevent Line Breaks Before They Start
Most line break problems start during pasting. Learn to use Paste Special to prevent issues immediately.
Step 1: Copy text from source (PDF, email, website)
Step 2: In Word, press Ctrl + Shift + V (or Edit → Paste Special)
Step 3: Select Unformatted Text option—this strips all formatting and most line breaks right away
Step 4: Click OK to paste clean text
Using Paste Special preventatively eliminates about 70% of line break problems before they even happen, saving significant cleanup time later.
Strategic Paste Options for Different Sources
Different source types benefit from specific paste approaches:
- From PDFs: Use Paste Special → Unformatted Text, then apply formatting manually
- From emails: Paste Special → Unformatted Text, then review paragraph structure
- From websites: Paste Special → Unformatted Text, then apply styles
- From other Word documents: Paste normally; most formatting transfers cleanly
Document Template Setup to Avoid Line Break Issues
Create default templates with the right settings:
- Set appropriate line spacing (usually 1.15 or 1.5 for readability)
- Establish consistent paragraph spacing (6pt before, 6pt after for most documents)
- Use built-in styles for headings rather than manual formatting
- Save as template (
.dotx) for repeated use
This template-based approach prevents line break issues from popping up when you create documents.
Regular Maintenance Routine
For professionals working with documents daily:
- Review pasted content immediately after pasting before moving on
- Use Find All (Ctrl + H → Find All) weekly to catch accumulated issues
- Maintain document backups before making large formatting changes
- Document what approach works best for different source types
Frequently Asked Questions
Q1: What’s the difference between a line break and a paragraph break?
A: Line breaks (Shift+Enter, shown as ↵) keep text in the same paragraph but move it to a new line, keeping paragraph formatting intact. Paragraph breaks (Enter, shown as ¶) end the paragraph entirely, applying paragraph-level changes like spacing. Removing line breaks joins text within a paragraph; removing paragraph breaks consolidates multiple paragraphs together.
Q2: Will removing line breaks affect my document formatting or styling?
A: Removing line breaks usually preserves formatting since line breaks are primarily formatting characters. However, removing paragraph breaks can affect spacing, indentation, and other paragraph-level formatting. Always test the process on a copy of your document first before running Find and Replace on important files. It’s a good idea to maintain backups of original documents.
Q3: How can I remove line breaks from only part of my document, not the entire document?
A: Select the specific section first (highlight the text), then use Find and Replace. The operation will only affect the selected text. Alternatively, place your cursor in the section you want to affect and use Find and Replace with “Search:” set to “Current Section Only” if that option appears in your Word version.
Q4: Why does my Find and Replace show “0 replacements made” when I know line breaks exist?
A: You are probably using the wrong code. Line breaks use ^l (lowercase L) while paragraph breaks use ^p. Make sure “Use wildcards” or appropriate options are correctly enabled or disabled. Some Word versions require specific settings in Advanced Options to recognize special codes.
Q5: Can I remove line breaks from a PDF file directly without importing to Word?
A: PDFs must be converted to an editable format first. Use online PDF-to-Word converters, then follow the methods above. Alternatively, specialized OCR software like Adobe Acrobat Pro can process PDFs directly, though using Word’s approach is simpler for most users.
Q6: Is using macros safe for my computer and documents?
A: Macros from trusted sources are safe. Macros can only access what you allow them to. Enable macro security in Trust Center settings to allow macros only from trusted locations. Always review macro code before running it if received from others. Back up documents before running macros on important files as a precaution.
Q7: What software alternatives exist besides Kutools for removing line breaks?
A: Online text tools like Remove Line Breaks Online (web-based) provide free alternatives, but they offer less control over document preservation. Some PDF editors (Adobe Acrobat Pro) have document processing features. For most users, Word’s built-in Find and Replace remains the best free, reliable solution with full control and safety.
Conclusion: Choose Your Method and Clean Your Documents
Line breaks make professional documents complicated, but removing them doesn’t have to take hours. This guide covered five effective methods—from simple manual deletion to advanced VBA automation—ensuring you find the approach that matches your specific needs.
- For most users: Find and Replace (Method 2) offers the best mix of simplicity, speed, and reliability. Five minutes spent learning the
^pand^lcodes unlocks instant document cleaning for years. - For large batches: Kutools for Word (Method 4) justifies its modest cost through massive time savings when processing dozens of documents monthly.
- For advanced automation: VBA macros (Method 5) enable fully hands-off processing, perfect for repetitive document formatting workflows.
The key insight? Prevention through Paste Special options stops about 70% of line break problems before they even start. Master this technique alone, and watch your document cleanup time plummet.
Start today with Method 2 (Find and Replace) on a test document. Once you’re comfortable with the special codes, you’ll remove line breaks faster than most people realize they exist. Your cleaned documents will look professional, read clearly, and maintain formatting integrity—exactly what every document should achieve.
Need to tackle a specific document type? Review the Common Scenarios section above for your situation, or leave a comment describing your challenge. The blog community helps solve formatting problems together.