Have you ever pasted something into Google Docs only to watch your perfectly formatted paper turn into a crazy mess? Those annoying extra spaces are usually line breaks. Maybe you copied text from a website, an email, or maybe you just hit the wrong key. Whatever the reason, line breaks ruin how your document looks and make it hard to read. It's super frustrating, especially when you have a huge paper with hundreds of these hidden breaks that you have to clean up one by one.
Good news! Getting rid of these messy line breaks in Google Docs is actually pretty simple once you know the secrets. This complete guide will show you five tried-and-true tricks—from fast fixes to super-smart automated tools—that will solve your problem in minutes, not hours. Whether you just use Google Docs sometimes or you handle huge, complicated files, we have a way that works perfectly for you.
Here’s What You’ll Learn
This guide covers everything about how to remove line breaks. We'll talk about why these formatting headaches happen, give you step-by-step instructions for five different ways to fix them, show you advanced automatic fixes, teach you how to stop them from happening in the first place, and even help you solve tricky problems. By the time you finish reading, you’ll be a Google Docs formatting expert.
Understanding Those Pesky Line Breaks in Google Docs
Why Do I Get Line Breaks?
Line breaks pop up for a few common reasons. When you copy text from places like websites, emails, or PDF files, those hidden formatting codes usually come along for the ride. These invisible characters trick Google Docs into creating extra line breaks where you don't want them. Also, if you paste content from programs like Microsoft Word, those programs sometimes use formatting that Google Docs can’t handle, and it turns them into unwanted line breaks.
Here are the usual suspects when you find unwanted line breaks:
- Copying content from websites or online articles
- Pasting text from email messages or newsletters
- Importing documents from Microsoft Word or other applications
- Using older formatting methods within Google Docs
- Working with scanned documents or OCR-processed text
- Copy-pasting from PDF files or image-based content
This problem gets way worse if you're working on a long document. Imagine a 5,000-word paper where you copied and pasted stuff multiple times—you might have 50 to 100 extra line breaks hiding everywhere! Finding them one by one is practically impossible.
What’s the Difference: Line Breaks vs. Paragraph Breaks?
Knowing the difference between these three types of formatting stops confusion and helps you pick the right way to remove them:
Line Breaks (Shift + Enter): These make a new line but stay inside the same paragraph. They keep the same paragraph formatting—like indentation or spacing—as the line before them. This is great for short, close vertical spacing, like when you write an address or a poem.
Paragraph Breaks (Enter): These start a completely new paragraph. Each new paragraph gets its own settings. The space between paragraphs is bigger than a line break and follows your document’s paragraph spacing rules. Most of your regular writing uses paragraph breaks.
Section Breaks: These divide your document into completely separate parts. Each section can have potentially different things, like unique headers, footers, or page directions. These are much trickier than simple line breaks and need totally different ways to remove them.
How They Look: If you turn on your formatting marks, line breaks look like ⏎ symbols, and paragraph breaks look like ¶ symbols. To deal with section breaks, you usually have to go into the Insert menu. Knowing exactly which symbol you see helps you figure out the best way to fix the problem.
Should I Remove Line Breaks? (When to Keep Them)
Remove line breaks when:
- Copied text creates awkward, uneven formatting
- Your sentences suddenly break apart unexpectedly
- The spacing looks messy or unprofessional
- You are getting ready to publish or share the document
- You are changing the document to another file type (like PDF or Word)
Keep line breaks when:
- You are formatting addresses or mailing lists (putting each part on a new line)
- You are writing poetry or special text layouts
- You must follow specific spacing rules in legal papers or contracts
- You are designing formatted sections like signatures or citations
Using line breaks on purpose is helpful for specific formatting jobs. You should only remove them when they mess up how professional your document looks or destroy the structure you intended.
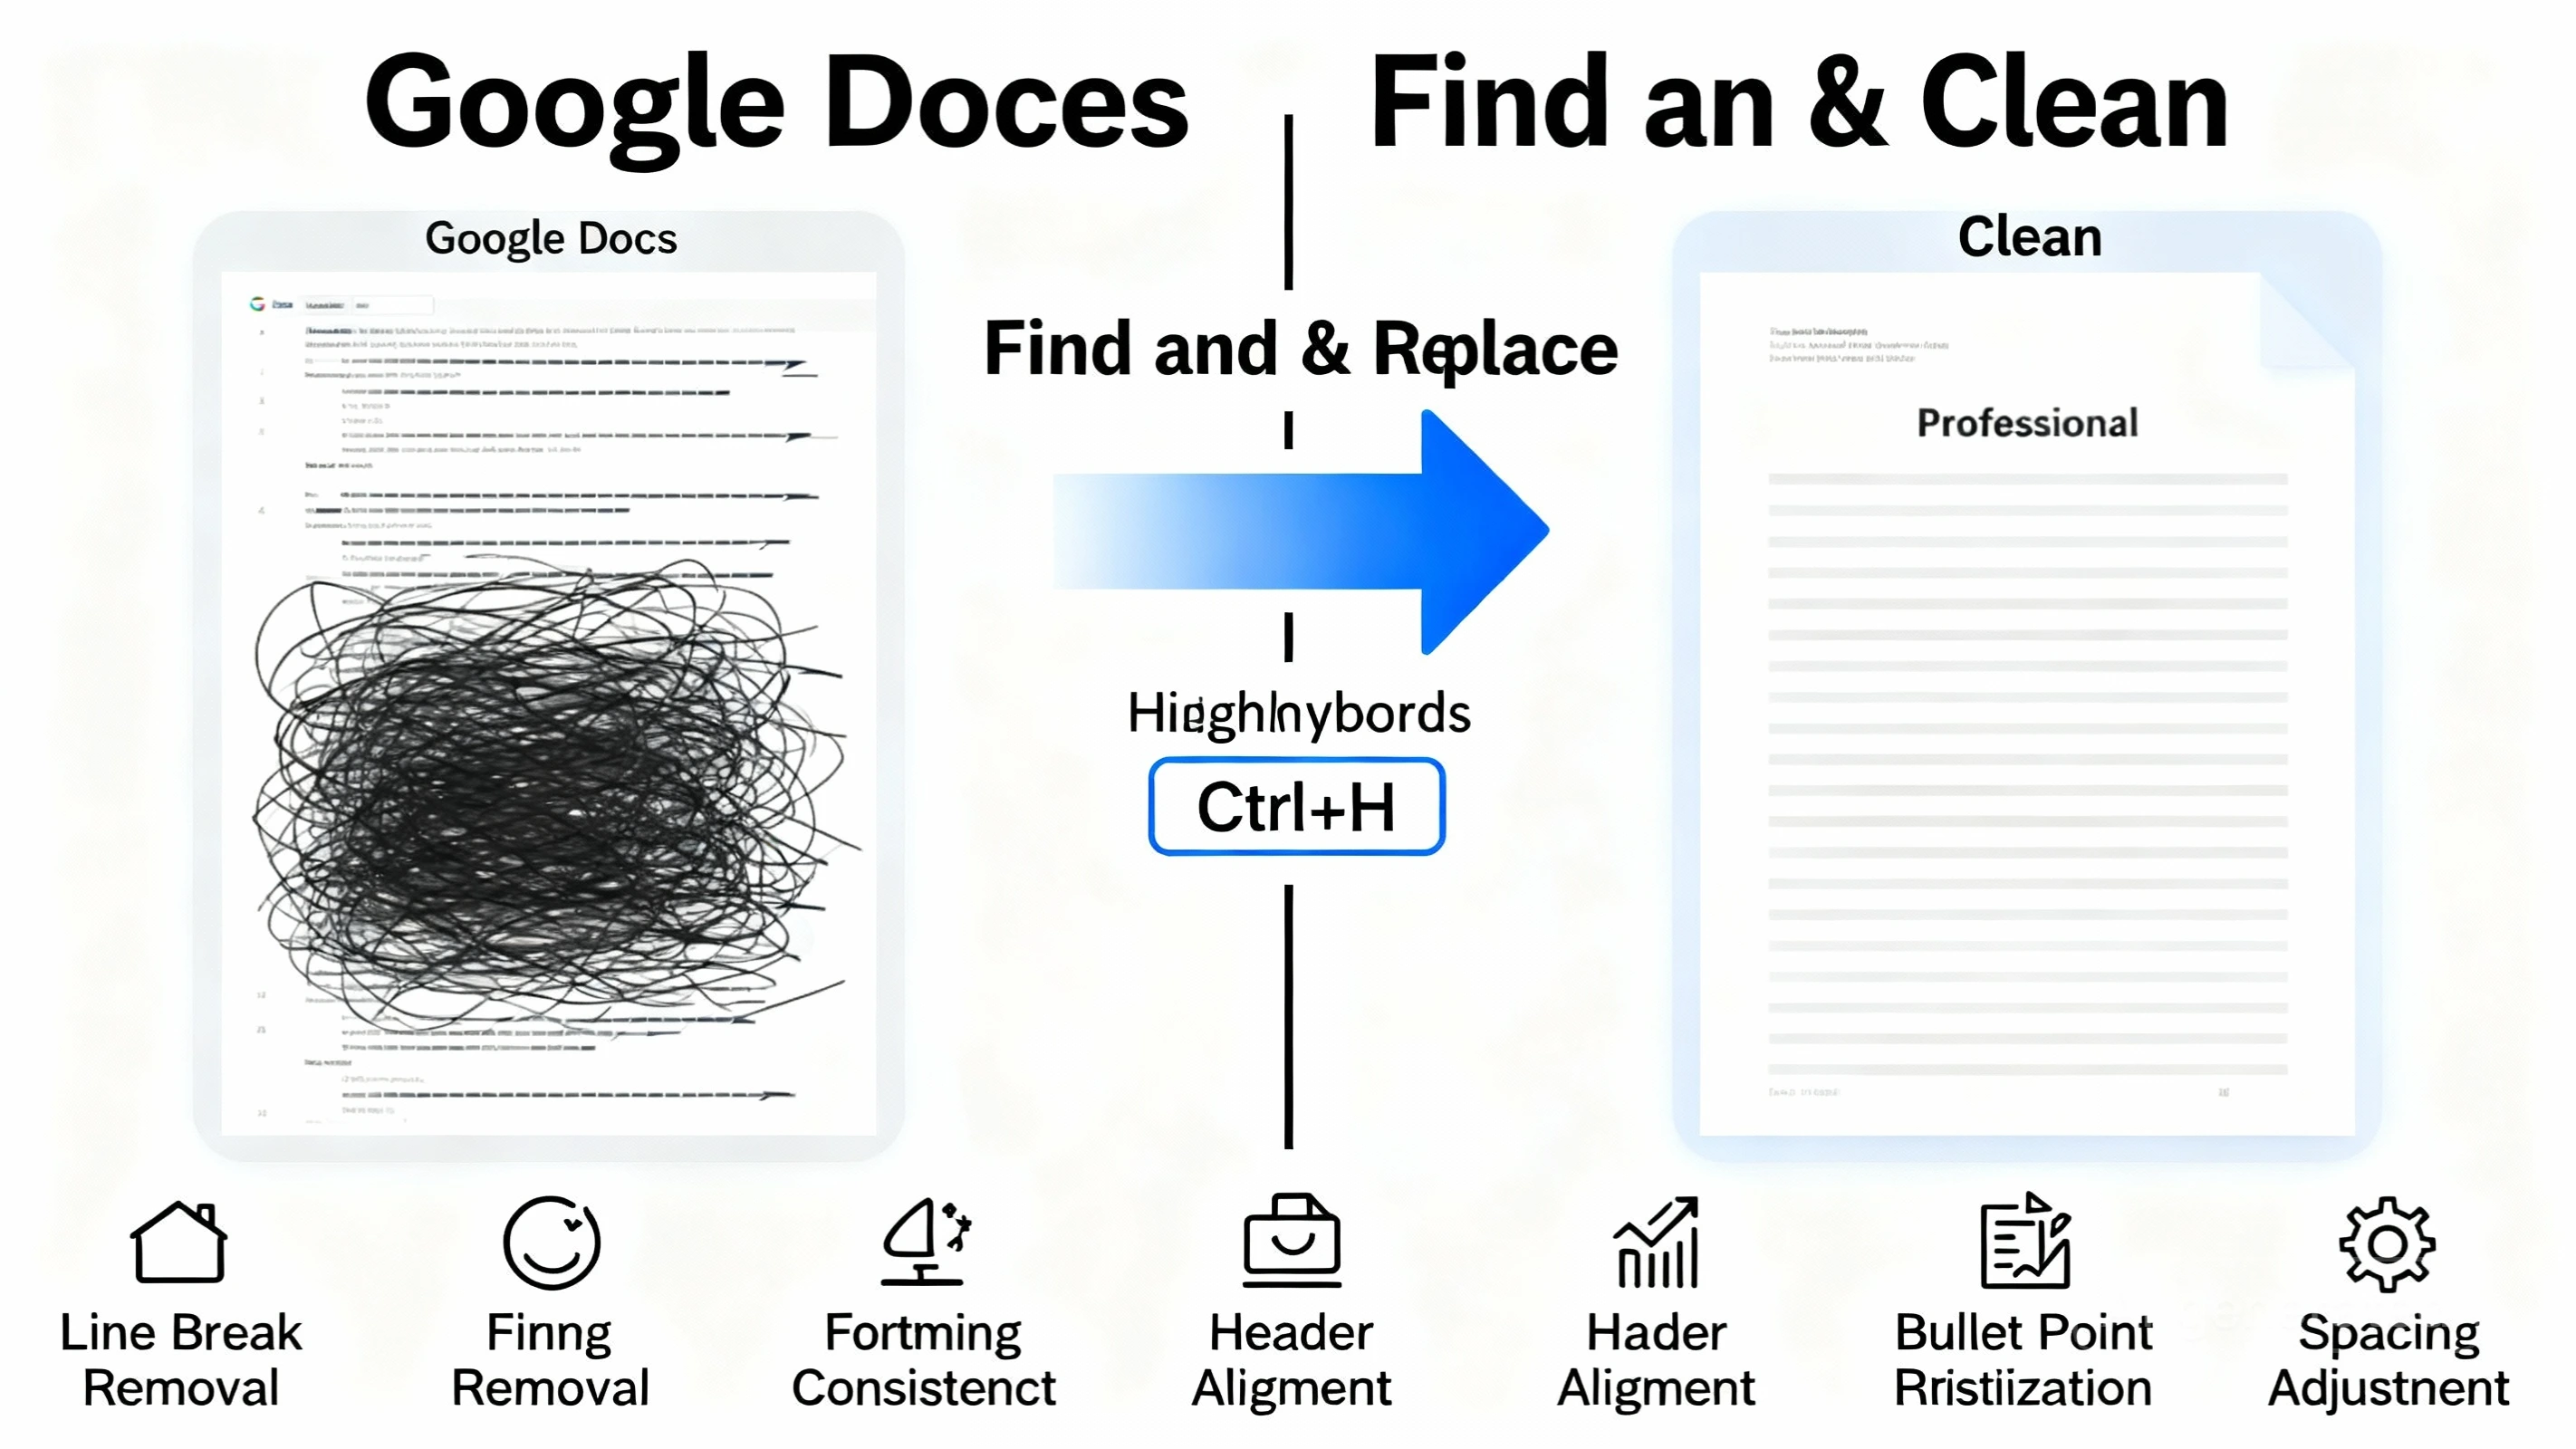
Quick Fix: The Find and Replace Method (The Fastest Way for Most People)
The Find and Replace method can fix almost all your line break problems—about 90%—in less than two minutes. This smart trick searches your whole document, finds those annoying line breaks, and replaces them with nothing (to delete them) or with proper paragraph breaks, depending on what you need.
Step-by-Step Instructions to Remove Line Breaks
- Step 1: Open Find and Replace
Launch Google Docs and open the document that has the line breaks. Press Ctrl + H (Windows) or Cmd + H (Mac) to open the Find and Replace box. Using this shortcut is much faster than navigating through the menus. - Step 2: Enter Search Parameters
In the "Find" field, click the three-dot menu icon to reveal advanced options. Enable Use regular expressions to turn on pattern matching. This allows Google Docs to recognize special, hidden characters like line breaks. - Step 3: Search for Line Break Character
In the Find field, enter this regular expression:\n. The backslash and the letterntogether represent a line break when using regular expressions. - Step 4: Determine Your Replacement
- Remove line breaks entirely: Leave the Replace field completely empty.
- Convert line breaks to paragraph breaks: Enter
\nin the Replace field (creates proper paragraph spacing). - Replace with specific text: Enter any text you want to insert instead.
- Step 5: Execute the Replacement
Click Replace All to remove every line break instantly. Google Docs will show how many replacements were made. If that number seems off, press Ctrl + Z to undo and adjust your search settings.
Pro Tip: Before you hit Replace All, try clicking Find Next a couple of times to confirm you’re targeting exactly what you intend.
A Quick Look at Regular Expressions
Regular expressions ("regex") let you do far more powerful searches. Besides removing line breaks, they can manipulate text in advanced ways.
Common patterns:
\n— Line break (the Shift + Enter symbol)^por\p— Paragraph break (varies by program)\s+— Multiple spaces next to each other\s— Any whitespace (spaces or tabs)^$— Empty paragraphs (paragraphs with nothing in them)
Practical example: To delete empty paragraphs but keep intentional spacing, search for ^$ and leave Replace empty. Google Docs will remove only the truly empty paragraphs.
Advanced trick: To turn line breaks into spaces (combining lines into one paragraph), type a single space in Replace instead of leaving it empty. This keeps words from running together.
Regex might seem confusing at first, but these basics give you precise control that simple Find and Replace can’t match.
When Should I Use Find and Replace?
The Find and Replace method is ideal when issues are spread throughout your document. It works perfectly for:
- Documents pasted from websites with consistent formatting problems
- Multiple line breaks scattered across the document
- Large documents where manual fixes would take too long
- Fixing many similar documents at once (batch processing)
- Switching between line break and paragraph break styles
This method isn’t the best if line breaks occur randomly or if you need to review each one before removal. In those cases, consider manual deletion for finer control.
Manual Deletion Method (When You Need Exact Control)
Sometimes being precise is more important than being fast. The manual deletion method is great when you need to look closely at every single line break and decide if it stays or goes, based on where it is in the text.
How to See the Line Breaks
Turn on the formatting marks display to see exactly where every line break is hiding in your document. You can press Ctrl + Alt + \ (Windows) or Cmd + Option + \ (Mac), or go to Tools → Preferences and look for the display settings. Once enabled, these marks show up as little symbols everywhere in your document.
How to tell the formatting marks apart:
- Line break (↩︎): Means someone used Shift + Enter
- Paragraph break (¶): Means someone pressed Enter
- Space dot (·): Shows where spaces are between words
- Tab arrow (→): Shows where tab characters are
Seeing these marks changes how you edit. Now you can spot exactly where the bad formatting is and fix those specific spots.
Removing Them One By One
Click right before the line break symbol and press Delete to remove it. The text that was after the break will jump up to the line before it. Often you need to add a space afterward so words don’t run together (e.g., “HelloWorld” instead of “Hello World”).
Manual removal workflow:
- Locate a line break mark
- Click just before the mark
- Press Delete
- Check the spacing between the joined words
- Add a space if needed
- Move on to the next line break
This careful process takes more time, but it gives you total control over every single line break—you decide what stays and what goes.
Good Things and Bad Things about Manual Deletion
Advantages:
- You have complete control over every line break you remove
- You can check the context before deleting anything
- Zero risk of accidentally deleting formatting you wanted to keep
- Works well for complex documents with varied formatting needs
- Easy to mix automatic fixes with your own manual checking
Disadvantages:
- Time-consuming if your document has dozens or hundreds of line breaks
- Repetitive work can lead to fatigue and mistakes
- Not practical when you must fix many documents quickly
- Requires close attention to maintain quality
- Less efficient than automated methods
Manual deletion works best for short papers, documents that only have a few scattered line breaks, or times when you must preserve specific formatting while deleting others. For whole-document cleanup, it’s slower than automatic tools.
Awesome Keyboard Shortcuts to Speed Up Your Work
Learning keyboard shortcuts will make you edit your Google Docs way faster. They work perfectly alongside the Find and Replace method and can seriously boost your productivity.
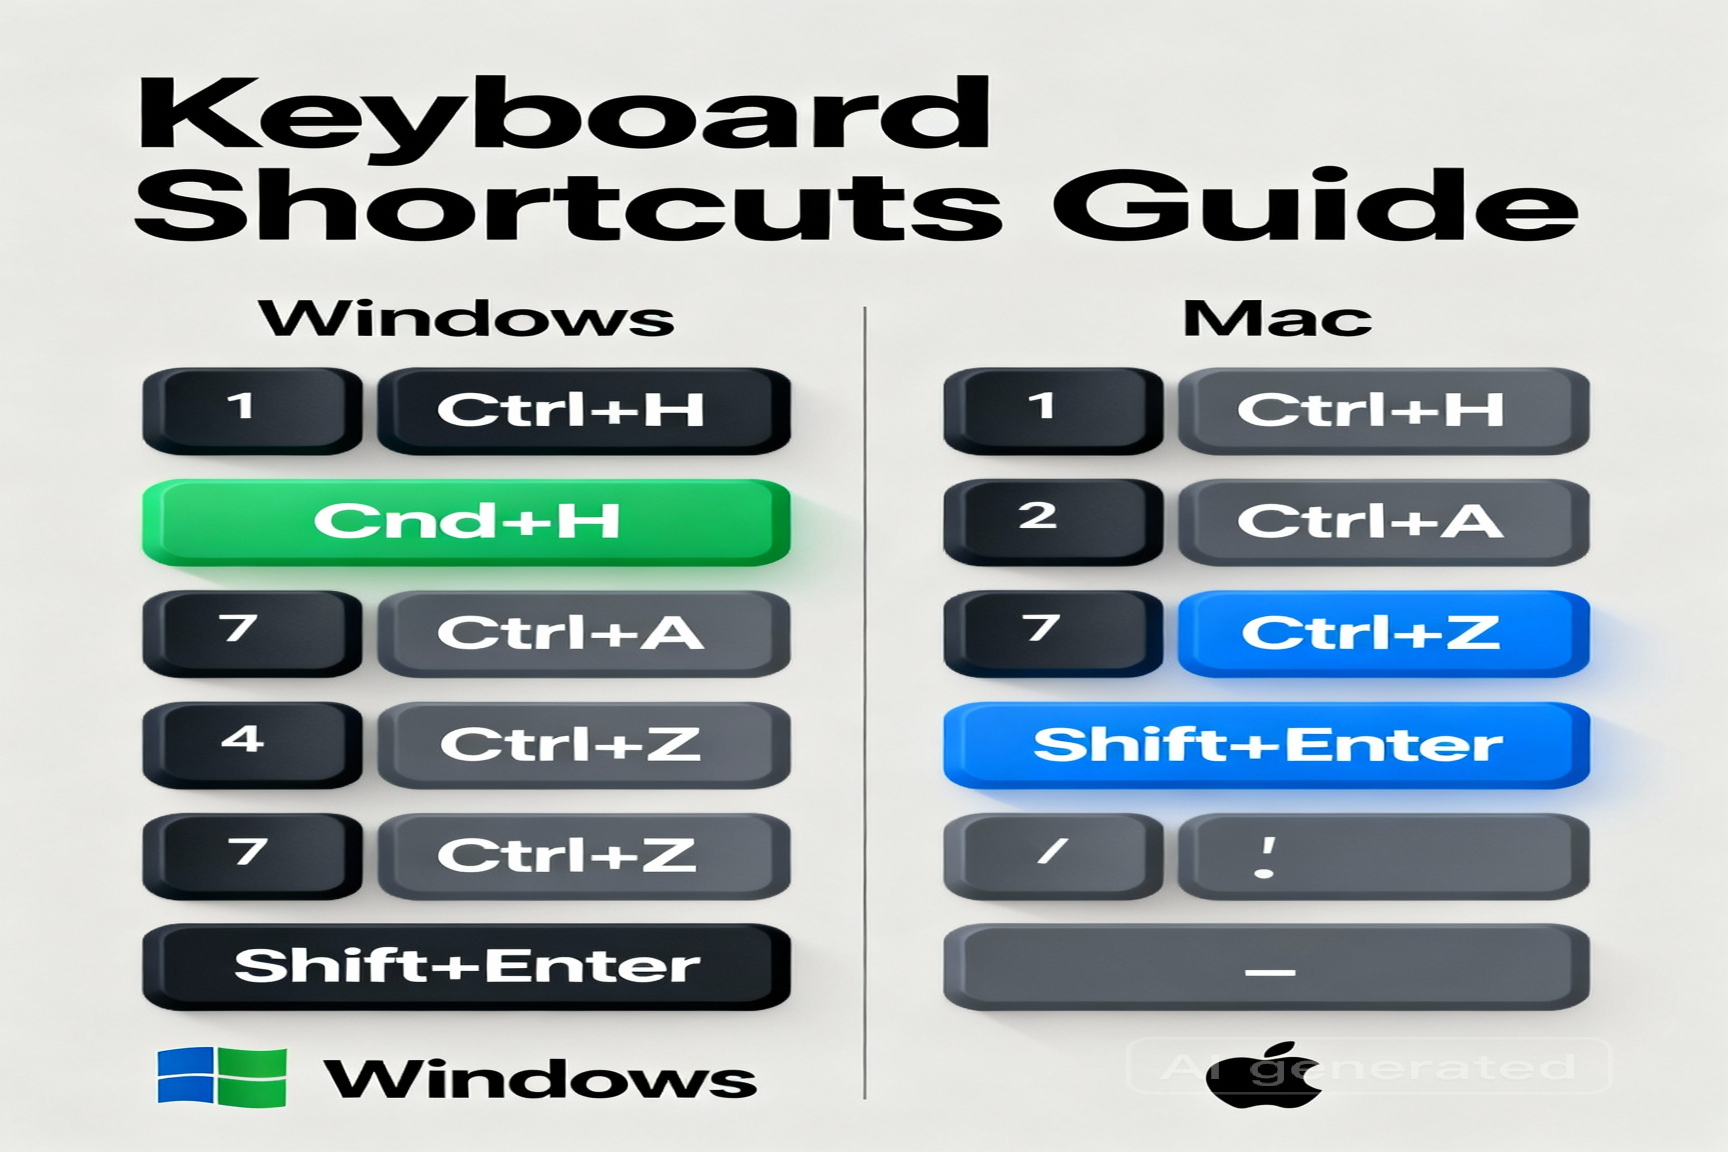
Windows Shortcuts
- Ctrl + H: Open Find and Replace (the main way to fix line breaks)
- Ctrl + A: Select the entire document (useful before large operations)
- Ctrl + Z: Undo recent changes (your safety net)
- Ctrl + Y: Redo actions (recover something you undid)
- Ctrl + Alt + \: Display formatting marks (see hidden characters)
- Shift + Enter: Insert line break (important to know what you’re removing)
- Alt + Shift + 8: Insert special characters (including break symbols)
Tip: Get really good at Ctrl + H. Combine it with Ctrl + Alt + \ to see your changes before you run them, and you’ll speed up your cleanup workflow a ton.
Mac Shortcuts
- Cmd + H: Open Find and Replace
- Cmd + A: Select the entire document
- Cmd + Z: Undo changes
- Cmd + Shift + Z: Redo actions
- Cmd + Option + \: Display formatting marks
- Shift + Enter: Insert line break
- Cmd + Option + Y: Insert special characters
Mac tip: Command + Option + \ differs from Windows because of Mac keyboards. Practice Option-key shortcuts—they appear often in Google Docs.
Quick Ways to Jump Around Your Document
Moving around long documents quickly saves a lot of time:
- Ctrl + Home (Windows) or Cmd + Home (Mac): Jump to the start of the document
- Ctrl + End (Windows) or Cmd + End (Mac): Jump to the end of the document
- Ctrl + F (Windows) or Cmd + F (Mac): Open the Find box (great before removing line breaks)
- Page Up / Page Down: Navigate screen by screen
- Ctrl + G (Windows) or Cmd + G (Mac): Open Go to Page dialog
When you use these navigation shortcuts along with Find and Replace, you turn slow cleanup tasks into a quick, efficient, keyboard-driven process.
Advanced Trick: Google Apps Script Automation
If you are a power user who works with many documents or needs to fix formatting often, Google Apps Script lets you create custom automatic tools. This means you can remove line break problems without manually clicking a thing.
What is Google Apps Script?
Google Apps Script is a scripting platform built into Google Docs. It helps you automate repetitive tasks using simple code. For removing line breaks, you can run scripts whenever you want to clean up formatting instantly.
How they work: Scripts examine your document’s contents in code. They can find and change formatting characters that even advanced Find and Replace can’t reach. A single script can remove line breaks, fix spacing, adjust paragraph settings, and more—all at once.
Advantages of scripts:
- Automate frequent tasks indefinitely
- Create custom menu buttons inside Docs
- Process documents much faster than manual editing
- Combine multiple formatting fixes into one action
- No pop-ups—fully automatic once authorized
How to Install and Run the Script
Step 1: Access Apps Script Editor
Open your Google Docs document. Go to Extensions → Apps Script to open the editor in a new tab.
Step 2: Paste the Line Break Removal Script
function removeLineBreaks() {
  const doc = DocumentApp.getActiveDocument();
  const body = doc.getBody();
  const paragraphs = body.getParagraphs();
  for (let i = 0; i < paragraphs.length; i++) {
    const paragraph = paragraphs[i];
    const text = paragraph.getText();
    // Remove line breaks from each paragraph
    const cleanedText = text.replace(/\n/g, ' ');
    paragraph.clear();
    paragraph.appendChild(DocumentApp.getActiveDocument()
      .getBody()
      .insertParagraph(i, cleanedText));
  }
}
This script iterates through every paragraph in your document, removes line break characters, and maintains paragraph integrity.
Step 3: Save the Script
Press Ctrl + S (Windows) or Cmd + S (Mac) to save. Apps Script will create a project automatically.
Step 4: Create a Custom Button (Optional)
function onOpen(e) {
  DocumentApp.getUi().createMenu('Custom Tools')
    .addItem('Remove Line Breaks', 'removeLineBreaks')
    .addToUi();
}
Your custom “Remove Line Breaks” option will appear under a new Custom Tools menu.
Step 5: Run the Script
Back in Docs, pick your script from Extensions, authorize access when prompted, and run the function.
Safety First: Permissions You Need
Important: Scripts require permission to read and write your document. Review permissions carefully the first time you run a script. A simple cleanup script should only need access to your document content.
Best practices:
- Only use scripts you trust
- Read the script code before running it
- Make a copy of your document before automation
- Test on a duplicate or sample file first
- Keep track of installed scripts for future reference
Scripts can make you incredibly productive—just use them wisely and avoid granting unnecessary access.
Solution 5: Using Add-ons and Other Tools
Google Docs lets you install extra tools called add-ons that extend its features. Many are designed to clean up formatting, like removing line breaks. If you want a web-based solution that works anywhere, you can also use a dedicated online line break remover tool.
Try the Text Cleaner Add-on
The Text Cleaner add-on provides a comprehensive way to manage formatting.
Features:
- Remove extra spaces and line breaks
- Clean up formatting from pasted text
- Delete empty paragraphs
- Make spacing consistent across your document
- Batch process large groups of documents
Installation:
Go to Extensions → Get add-ons. Search for “Text Cleaner” or install directly from the Workspace Marketplace listing, review permissions, and install. It appears under the Extensions menu.
Usage:
Open Extensions → Text Cleaner and choose “Remove Line Breaks”. It scans your document and reports how many changes were made.
Cost:
Free tier with monthly limits; paid versions offer unlimited processing.
Other Helpful Formatting Tools
Additional add-ons address related formatting issues:
- Docs Cleaner: Fixes line breaks, extra spaces, and indent problems in one run
- Format Cleaner: Strips excessive formatting from pasted text to prevent line break issues
- Smart Cleanup: Uses AI to find and fix uneven formatting across your document
They all install from the Marketplace, ask for authorization, and run from the Extensions menu.
Good and Bad Things About Add-ons
Advantages:
- Easy to use—no technical skills required
- Can fix several formatting issues at once
- Save time compared to manual edits
- Some can schedule automatic cleanups
- Features beyond just removing line breaks
Disadvantages:
- Require authorization and document access
- May process documents unpredictably
- Some have subscription costs
- Limited customization options
- Privacy considerations with third-party tools
- Performance may vary with large documents
Add-ons are perfect if you prefer visual menus over regex or code. They’re usually slower than built-in methods but easier for non-technical users.
Stop the Problem: How to Prevent Line Break Issues
The best way to handle line breaks is to prevent them. Smart copy‑paste habits remove issues before they start, saving time and frustration. For broader Google Docs skills, see the Google Workspace Learning Center.
Use Smart Copy‑Paste Tricks
Strategic copy‑paste technique: Before pasting into Google Docs, paste into a plain text editor (e.g., Notepad or a blank browser text box) to strip hidden formatting. Then copy from there and use Paste Special in Google Docs.
Avoid problematic sources: Prefer copying from Google Docs or plain text instead of complex websites or emails. HTML and email formatting often becomes unwanted line breaks.
Immediate cleaning: If you must paste from messy sources, run Find and Replace right away to stop bad formatting from spreading.
Always Use Paste Special
Paste Special removes extra formatting—stopping line break problems entirely. Use this instead of regular paste:
Windows:
- Copy your content
- Press Ctrl + Shift + V in Google Docs
- Select “Paste unformatted text” and click “Paste”
Mac:
- Copy your content
- Press Cmd + Shift + V in Google Docs
- Choose “Paste unformatted text” and click “Paste”
Paste Special removes all formatting—line breaks, bold, italics, and colors—so you retain full control of styling afterward.
Special Tips for PDFs and Emails
PDF best practices:
- Avoid copying directly from PDFs when possible
- Paste into plain text first if you must copy from a PDF
- Use PDF‑to‑text tools for cleaner output
- Retype small critical snippets instead of copying
- Try “Save as Google Docs” before extracting text
Email best practices:
- Draft emails in Google Docs instead of the email client
- Copy email content to plain text before Docs
- Forward emails to a Docs file for cleaner extraction
- Use email‑to‑Docs services to automate conversion
- Manually type critical info rather than copy‑pasting
These prevention methods may tweak your workflow, but they dramatically cut down formatting headaches and save significant cleanup time later.
Troubleshooting: When Your Fixes Don't Work
Every now and then, the usual methods don't get rid of all the line breaks. If you have persistent issues, use these advanced troubleshooting steps.
Common Problems and Quick Solutions
Problem: Find and Replace doesn't find line breaks
Cause: Wrong character code or regex syntax.
Solution:
- Try alternative patterns:
^l(caret L),~n(tilde n) - Enable "Use regular expressions"
- Verify correct sequence: backslash followed by
n→\n
Problem: Line breaks return after replacement
Cause: Special formatting or live syncing from the source.
Solution:
- Check for special formatting or embedded apps
- Disable connected add-ons
- Create a brand-new empty document and copy content over
- Apply Find and Replace to the new copy
Problem: Replacing line breaks corrupts formatting
Cause: Regex removes too much or replacement introduces issues.
Solution:
- Undo immediately (Ctrl + Z)
- Test a few replacements before "Replace All"
- Try replacing with a single space instead of nothing
- Consider manual deletion for sensitive areas
Fixing Issues Based on the Situation
Scenario: Large document with thousands of line breaks
Standard Find and Replace may time out or be slow.
- Split the document into sections and process separately
- Copy content to a new document in smaller chunks
- Use Google Apps Script for bulk processing
Scenario: Line breaks embedded in text blocks or tables
- Copy table contents to regular paragraphs
- Remove line breaks, then reformat as a table
- Manually clean line breaks inside table cells if needed
Scenario: Document contains mixed line break types
- Run Find and Replace multiple times with different patterns
- Use
\s+to normalize consecutive whitespace - Manually inspect remaining problem areas
When It’s Time to Ask for Help
- Share the document with a trusted colleague for review
- Post a detailed question on Google Docs support forums
- Contact Google Workspace support (enterprise users)
- Decide if 95% clean is acceptable for tricky edge cases
Sometimes chasing the last 5% takes far longer than it’s worth. Aim for clear, readable output first, then refine if needed.
Frequently Asked Questions
Q1: Is there a keyboard shortcut to remove all line breaks at once?
No, there isn't a single shortcut. Use Ctrl + H (Windows) or Cmd + H (Mac) to open Find and Replace. Put \n in the Find field and leave Replace empty to remove most line breaks in under 30 seconds.
Q2: Will removing line breaks affect my document's paragraph spacing?
Nope. Paragraph breaks (Enter) control spacing between paragraphs, while line breaks (Shift + Enter) live inside a paragraph. Removing line breaks won’t change paragraph spacing, though you may need to add a space where words joined.
Q3: Can I remove line breaks from specific sections only, rather than the entire document?
Yes. Highlight the exact section before opening Find and Replace. Replace All will then apply only to the selected text.
Q4: What's the difference between removing line breaks and clearing formatting?
Clearing formatting strips all styling (bold, italics, colors, fonts). Removing line breaks only deletes the break characters. Use clear formatting (Ctrl + \\ on Windows, Cmd + \\ on Mac) to wipe styles, or use Find and Replace to target just line breaks.
Q5: Do line breaks in Google Docs carry over when I download the document as a Word file?
Yes. If your Google Doc has line breaks, they will appear in the exported .docx as well. Fix them in Docs first for consistent formatting across platforms.
Q6: Can Google Docs Apps Script run automatically without my input?
Yes, with time-based triggers. Schedule your cleanup script to run daily, weekly, or monthly for hands‑off automation.
Q7: Why do emails create more line breaks than websites when I copy‑paste content?
Email clients use heavy, inconsistent markup that doesn’t translate cleanly to Google Docs. Use Paste Special (Ctrl/Cmd + Shift + V) to avoid importing those artifacts.
Conclusion & Next Steps
Learning how to handle line breaks in Google Docs changes frustrating formatting messes into simple, manageable tasks. Whether you pick the super-fast Find and Replace trick, need precise control through manual deletion, want to use automation with Google Apps Script, or decide to focus on prevention with smart copy-paste habits—you now have a full toolbox of solutions for every scenario.
Your immediate next step: The next time those line breaks ruin your document, try this: Open Find and Replace (Ctrl + H or Cmd + H), type \n in the Find field, leave the Replace field empty, and hit “Replace All.” You will resolve most issues in just a few seconds.
For long-term victory: Adopt Paste Special (Ctrl + Shift + V or Cmd + Shift + V) as your default paste method for external content. This single habit prevents 90% of line break issues before they occur, eliminating the need for subsequent cleanup.
Pro development: Explore Google Apps Script when managing multiple documents regularly. The initial learning curve pays dividends through permanent automation of formatting tasks.
Dealing with line breaks doesn't have to be frustrating anymore! These proven techniques empower you to maintain professional, perfectly formatted documents effortlessly. Share this guide with colleagues facing similar challenges—you'll become the team's go-to formatting expert!